Everyday life happens between groomer appointments, and that happens right in your living room. Here is the complete home grooming session: in the order that actually works, with the tools you need, and the limits at which point a professional takes over.
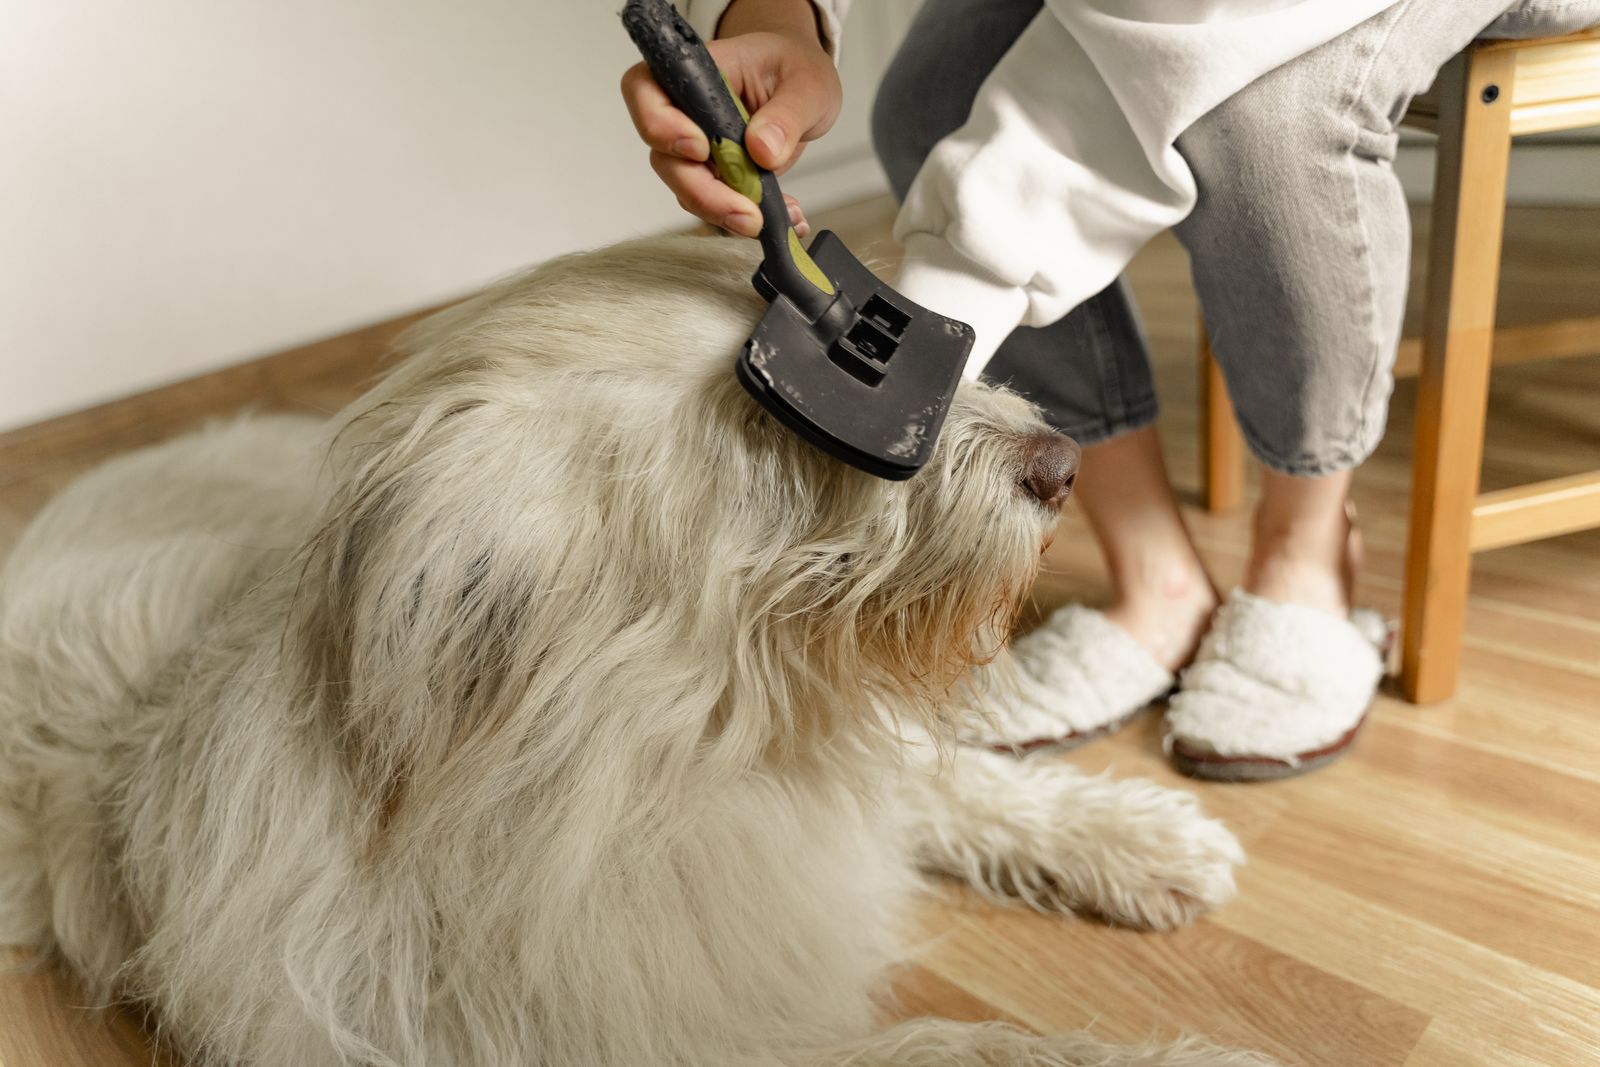
It's Saturday morning, your dog smells like dog, the brush has sat untouched in the closet for weeks, and the next groomer appointment is still five weeks out. If that sounds like your weekend, today is a good day for a DIY grooming session.
ost guides break dog grooming into separate topics: coat here, ears there, teeth somewhere else. What gets lost is the question of how it all fits together on one afternoon. So here we're treating it as what it actually is at home: a session with seven stations, in an order that avoids mistakes from the start. Brushing, for example, always comes before bathing, and you'll find out why in a moment.
Grooming your dog yourself saves money, sure. The underrated second benefit: you get your hands on your entire dog on a regular basis. Someone who brushes every few days and checks ears, eyes, teeth, and paws once a week finds ticks, lumps, redness, and sore spots weeks earlier than someone who leaves it to the quarterly appointment. The grooming session doubles as a bit of practical preventive health care for dogs, almost as a side effect.
Honesty matters when it comes to the limits, more on that at the end. First, the gear.
No worries, this isn't a professional groomer's kit costing four figures. For home grooming, a modest box of supplies is enough:
| Tool | Do you need it? |
|---|---|
| Slicker brush + metal comb | Yes, the basics for almost every coat type |
| Undercoat rake | Yes for double coats, otherwise no |
| Dog shampoo | Yes, a mild standard product is enough |
| Towels, non-slip mat | Yes, they make bath time calmer for everyone |
| Dog toothbrush + dog toothpaste | Yes, the single most effective step of all |
| Nail clippers or grinder | Yes, quick to learn with a guide |
| Rounded paw scissors or mini trimmer | Handy for paw hair and the sanitary trim |
| Styptic powder | Keep it in the drawer for nail emergencies |
| Hair dryer | Optional, cool or low setting only |
Depending on quality, the whole kit runs roughly fifty to one hundred fifty euros, so about the cost of one to two groomer appointments. Condition matters more than brand: a sharp, intact brush grooms, a bent one scratches.
Before the first brush touches your dog's back, one ground rule that decides between success and drama: grooming is training. A dog who only experiences the brush, the dryer, and having their paws touched once a quarter will never take it calmly. One who meets these things in small, well-rewarded doses will.
In practice that means three short sessions spread across the week beat one two-hour session on Saturday. Reward generously, take breaks, and stop before your dog gets restless, not after. Puppies have a head start here: during the first three months of life they take on new experiences most easily, brush and dryer noise included. But an adult dog can still learn it, just more slowly.
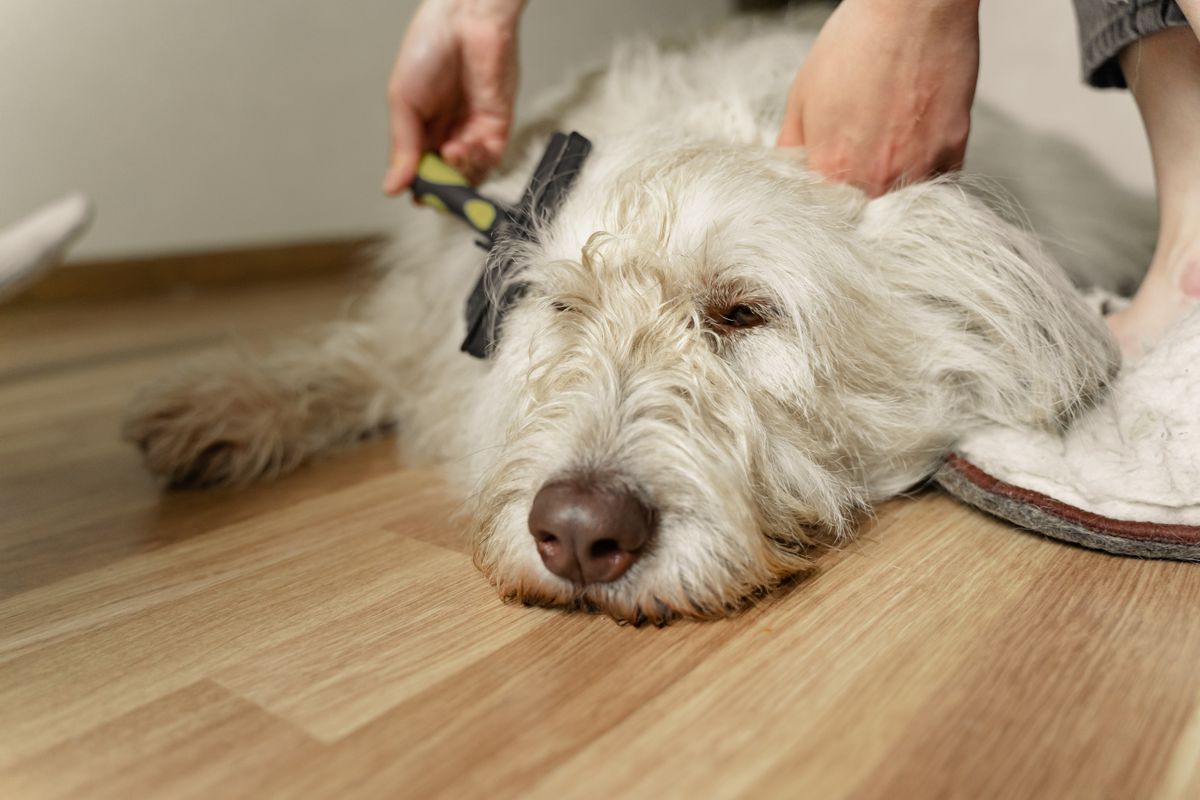
Order is the most common beginner mistake, which is why it comes first here: brushing and de-matting happen before the bath, never after. When a tangle gets wet, it swells up and tightens while drying like a little rope, turning a loose knot into a solid mat.
Brush all the way down to the skin, not just over the surface. For thick or curly coats, the line brushing technique helps: lift the coat in sections with one hand, then brush layer by layer from skin to tip with the other until the parting line is visibly clean, then move to the next section. This is also how you find the hidden mats behind the ears, in the armpits, and in the leg feathering. Double coated dogs also need the undercoat rake, and curly and Doodle coats follow their own rules, which we cover in detail in the guide to coat care for Poodles, Maltipoos, and other curly breeds.
Never cut mats out with scissors. Under the mat, the skin is often pulled taut and impossible to see, so one unexpected movement is enough to turn a grooming attempt into a stitched up cut. Loosen firm knots with a comb starting at the tip, or remove them with clippers and a guard attachment. For large areas of matting, the job belongs in professional hands, because tightly matted fur can even cut off blood flow.
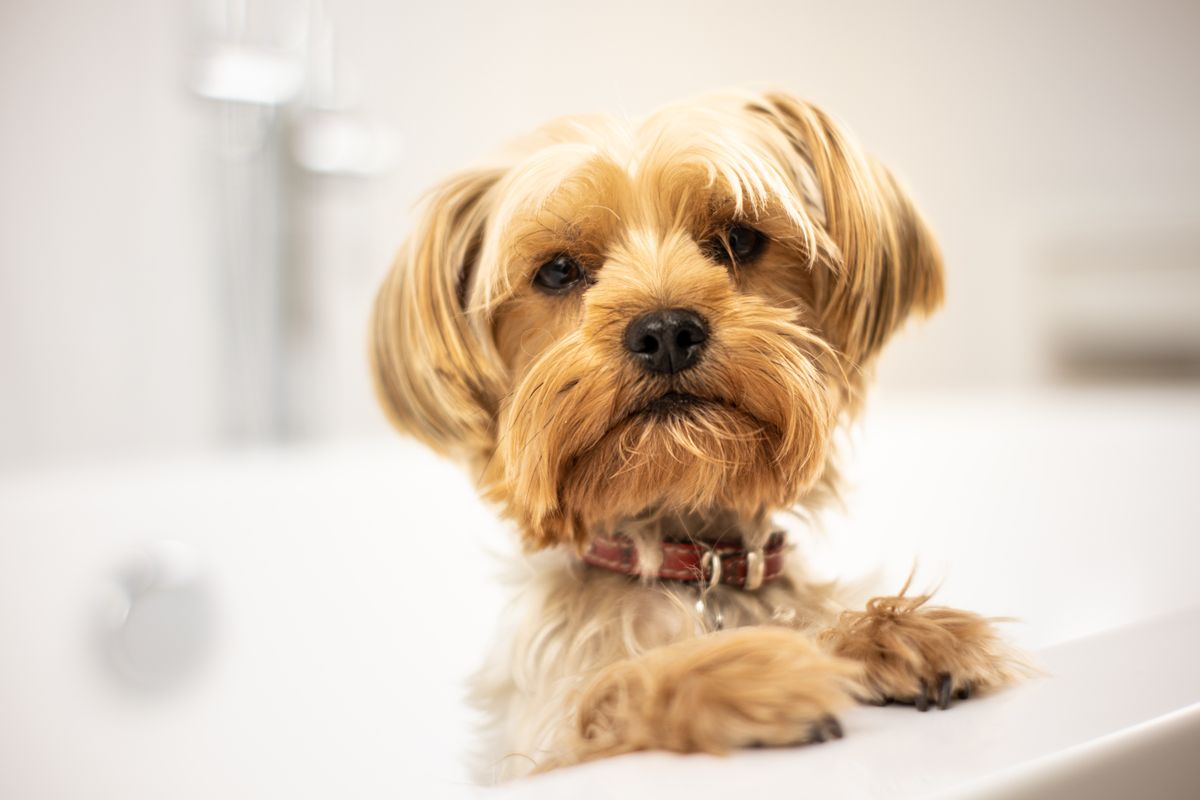
There's no fixed rule for how often a dog needs a bath, dirt and odor decide that. For most dogs, a shampoo bath every few weeks to every three months is enough, and without a reason it shouldn't be more often than that, because washing too frequently strips the skin's natural oils. Skin conditions call for their own plan anyway, in which case your vet determines frequency and shampoo.
One clear rule on product choice: always dog shampoo, never your own. Human skin, with a pH of roughly 5.2 to 6.2, is noticeably more acidic than dog skin, which sits at close to neutral around 6.2 to 7.5. Human shampoo, even the mild kind, is formulated for our skin's acid mantle and can irritate and dry out a dog's thinner skin.
The routine itself: a non-slip mat in the tub or shower, lukewarm water, never hot. Lather from back to front, skip the head as much as possible, and wipe it at the end with just a damp washcloth. A cotton ball loosely tucked into the ear opening keeps splashes out of the ears. Then comes the part that's easy to shortchange: rinse, then rinse again. Leftover shampoo in the coat itches and irritates the skin, so keep rinsing until the water runs completely clear.
After the bath, the towel goes first, and thoroughly: rub vigorously, especially in densely coated, poorly ventilated spots like the armpits, groin, and around the ears. If thick fur stays damp for long, it creates a warm, moist environment that encourages skin inflammation.
A hair dryer speeds things up, but with two conditions: low or cool setting, and at least about a foot (30 centimeters) of distance. Dog skin is thinner than ours and burns easily, and what feels pleasantly warm to us can already be too hot for a dog. Many dogs actually accept the dryer well when it's introduced early on or in short training sessions with treats, and never aimed straight at the face.
When it comes to ears, you're allowed to be lazy, and that's not an excuse, it's the current professional consensus: healthy, clean dog ears don't need routine cleaning. Cleaning too often irritates the ear canal and can promote infections instead of preventing them.
What belongs in the weekly session is the look: lift the ear flap, check the inside, take a quick sniff. Pale pink and low odor is good. Visible dirt on the ear flap can be wiped away with a soft, damp cloth. Going deeper is only ever done with a dog ear cleaner, and only as far as your finger reaches. Never use cotton swabs in the ear canal: they push debris deeper in and can injure the eardrum. Veterinary dermatology has also increasingly moved away from routinely plucking ear hair in healthy ears. Redness, odor, brown discharge, or frequent head shaking aren't cleaning issues, they're vet issues. You can read what might be behind them in the guide to itchy ears in dogs.
Eye care is the shortest item on the list. Soften crusted discharge in the corner of the eye with a soft cloth dampened with lukewarm water, and wipe it gently away from the eye, using a fresh cloth for each eye so you don't carry germs from one to the other. In light colored breeds like Maltese, Bichon Frise, or Poodle, reddish brown tear stains under the eyes are more noticeable. Regular gentle cleaning and keeping the area dry go a long way here.
Chamomile tea has no place near a dog's eyes. This popular home remedy classic can further irritate the conjunctiva, and veterinary associations explicitly advise against it. Watery, red, or crusted eyes, blinking, and light sensitivity belong straight at the vet's office, with no home remedy detour.
If there's one grooming step that beats everything else on effort versus impact, it's toothbrushing. Plaque mineralizes into tartar within days in dogs, and dental disease is one of the most common diagnoses of all. The gold standard is daily brushing. Brushing three to four times a week still has a clear effect, less often than that barely helps.
The gear: a soft dog toothbrush or a finger brush, and toothpaste made specifically for dogs, which comes in tempting flavors like poultry. Human toothpaste is off-limits because it can contain xylitol, which is highly toxic to dogs and can lead to low blood sugar, seizures, and liver failure. Fluoride and foaming agents also don't belong in a stomach that can't spit anything out. Brush mainly the outer surfaces of the teeth with small circular motions. The tongue takes care of most of the inner surfaces on its own. Chew products with the VOHC seal are a useful addition, but not a replacement for the brush.
Here too, start small. First just lift the lip and reward, then let your dog lick the toothpaste, then brush for a few seconds. After two or three weeks, the routine is a normal part of the evening for most dogs.
To finish, the details that are easy to overlook. Many dogs grow tufts of hair between the paw pads that reduce traction on smooth floors and can mat when wet. Trim them carefully down to pad level with rounded paw scissors or a small trimmer. Same tool, different spot: the so called sanitary trim keeps the area around the rear short and clean, just a few careful millimeters is enough.
Two clear limits belong to this step. The whiskers (vibrissae) on the muzzle and above the eyes are never trimmed along with everything else, not even for looks: they're a sense organ, and in Germany, Austria, and Switzerland, trimming whiskers for cosmetic reasons is prohibited under animal welfare law. And never express anal glands routinely yourself; doing it without cause can irritate the glands. If your dog scoots their rear across the floor or licks that area unusually often, that's a case for the vet.
That leaves the nails, a topic with its own level of respect and its own technique. The complete guide, including the click test, dark nails, and first aid, is in the guide to trimming a dog's nails. The weekly session should include at least the quick check for whether anything clicks on hard flooring.
That's how much you can do at home. There are still tasks where DIY saves money in the wrong place. Grooming belongs with a groomer or a vet if any of the following apply:
| Situation | Why a Professional |
|---|---|
| Extensive or skin-close matting | Usually needs to be shaved, high risk of injury |
| Breed clip (Poodle, Schnauzer, terrier trimming) | Needs technique, practice, and the right tools |
| Skin problems, parasites, sore spots | Diagnosis first, then grooming |
| Panic or resistance despite training | Professionals work with calm, routine, and a vet if needed |
| Senior dogs with joint pain | Padded tables, short sessions, practiced handling |
A good compromise is splitting the work: a professional handles the clip and deep clean two to four times a year, and you keep everything in shape between visits with your home sessions. What that costs depending on coat type, and why curly trend breeds in particular get expensive, we've broken down in the guide to Doodle grooming costs. Just one thing to never do yourself: shaving double coated dogs bald in summer. The reasons are in the guide to shaving your dog in summer.
The first full session will be rocky, and that's normal. The third already runs smoother, and at some point Saturday morning with a brush, treats, and an increasingly relaxed dog becomes one of those small fixed rituals you can both count on. Along the way, you'll know every lump and every tick before it gets a chance to become a problem.
To keep the rhythm from fading into everyday life, you can set reminders for brushing, bath time, and dental care in the Souldog app and log anything unusual straight in the health section. And once summer rolls around, add the warm weather extras to your session, like an ear check after swimming and a daily tick check. The matching routine is in the guide to dog grooming in summer. Enjoy your wellness Saturday.
 Souldog